
This post may contain affiliate links. This means I may make a small commission at no additional cost to you when you make a purchase. Find out more in the Disclosure Policy
Do you ever get the to point with an area in your house and think "somethings gotta give"? Well, most recently, that thing was our master closet. I reached my limit with our closet and decided that it was time to redesign our reach-in closet. To learn about how to improve our closet I searched online for Reach-in Closet Remodel Ideas.
The closet redesign started about 5 years ago when I was watching a designer on HGTV where she took a 1950s house and modernize it for how we live today. One episode focused on the master bedroom, but what caught my attention in this episode were the changes she made to the master closet.
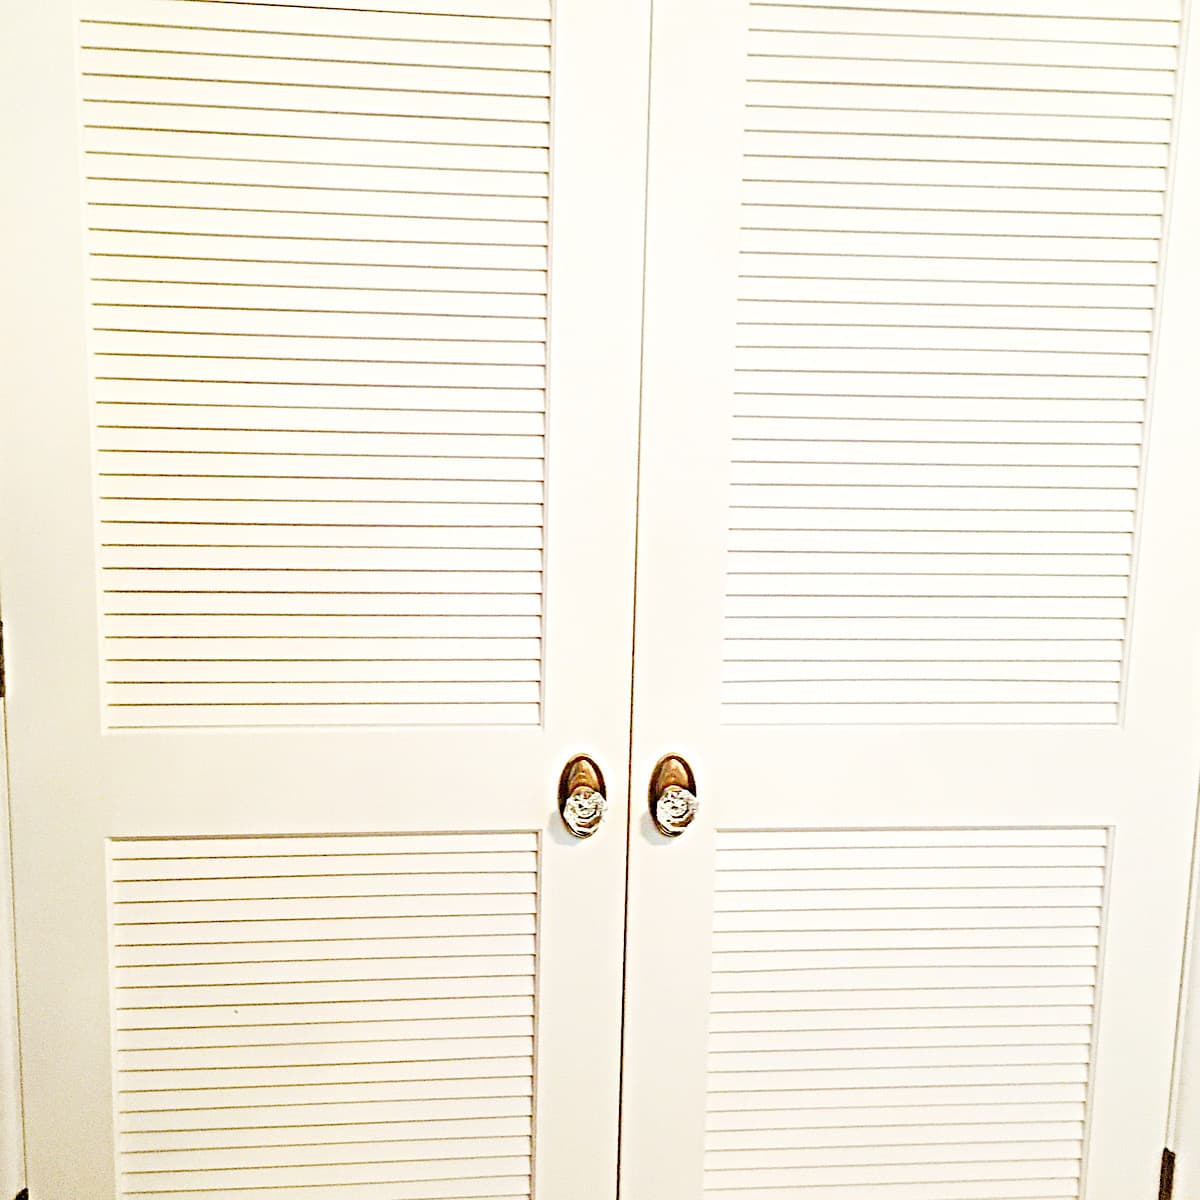
She took the typical reach-in closet, removed the sliding doors, and replaced them with french doors. That was an epiphany for me.
I started dreaming of a closet refresh where our closet was neat and organized. Where everything had a place.
Where Our Reach-In Master Closet Remodel Started
Our current home was built in the 1950s. We loved the full brick exterior and hip roof.
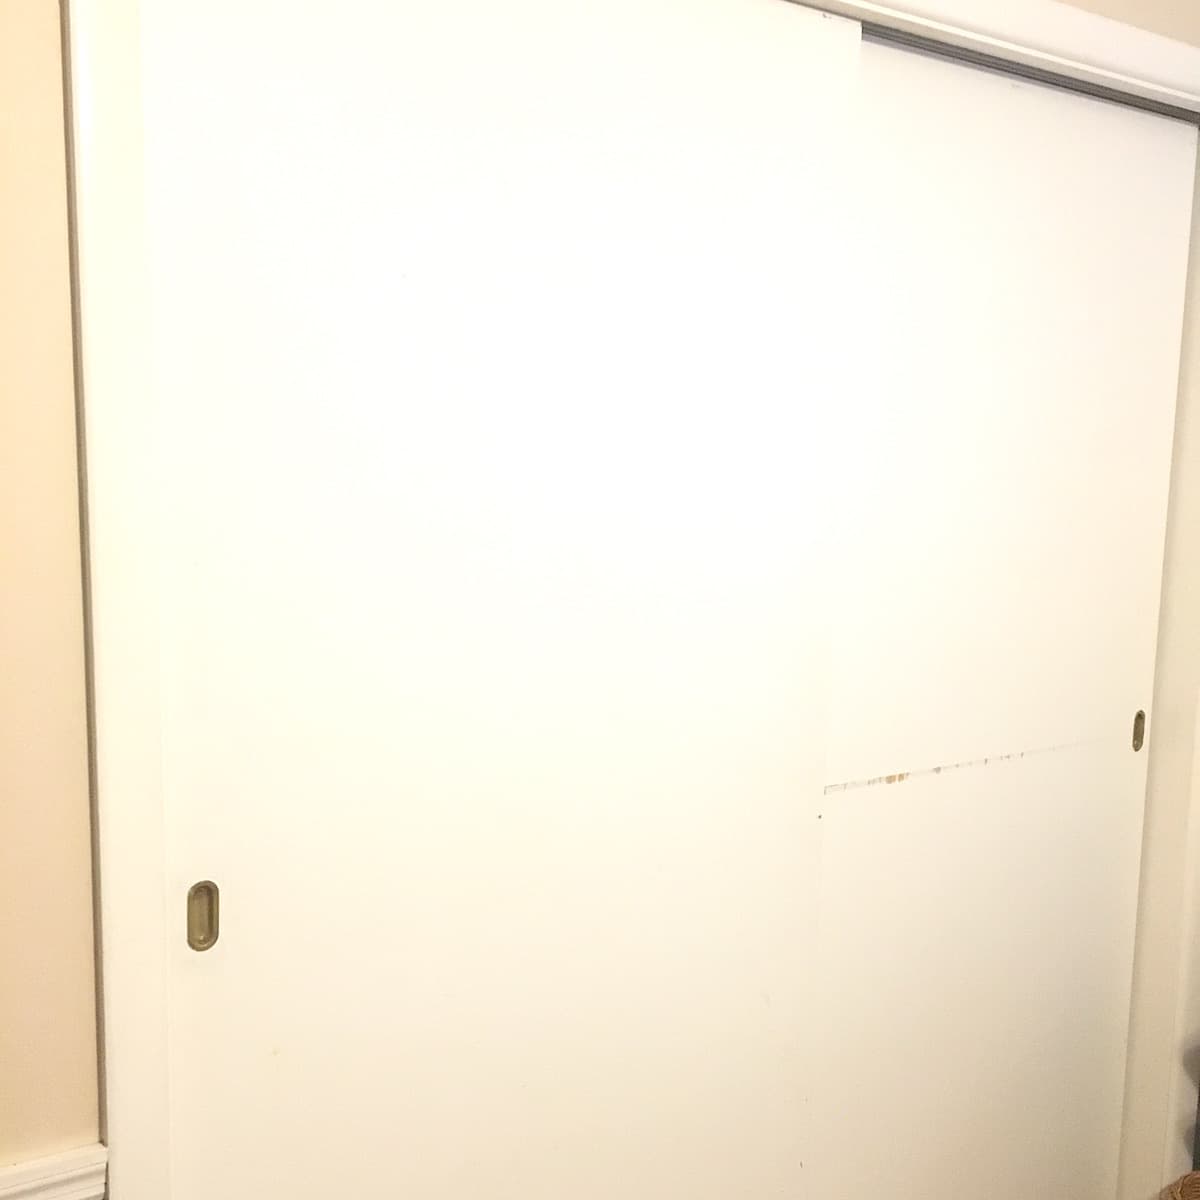
The inside came with several quirky features, one of which was our master closet. From its first appearance, the closet appears to be a standard 8-foot reach-in closet with deep sides. Access was via 2 large sliding doors.
If you have reach-in closets with sliding doors you know you can only see one side of the closet at a time.
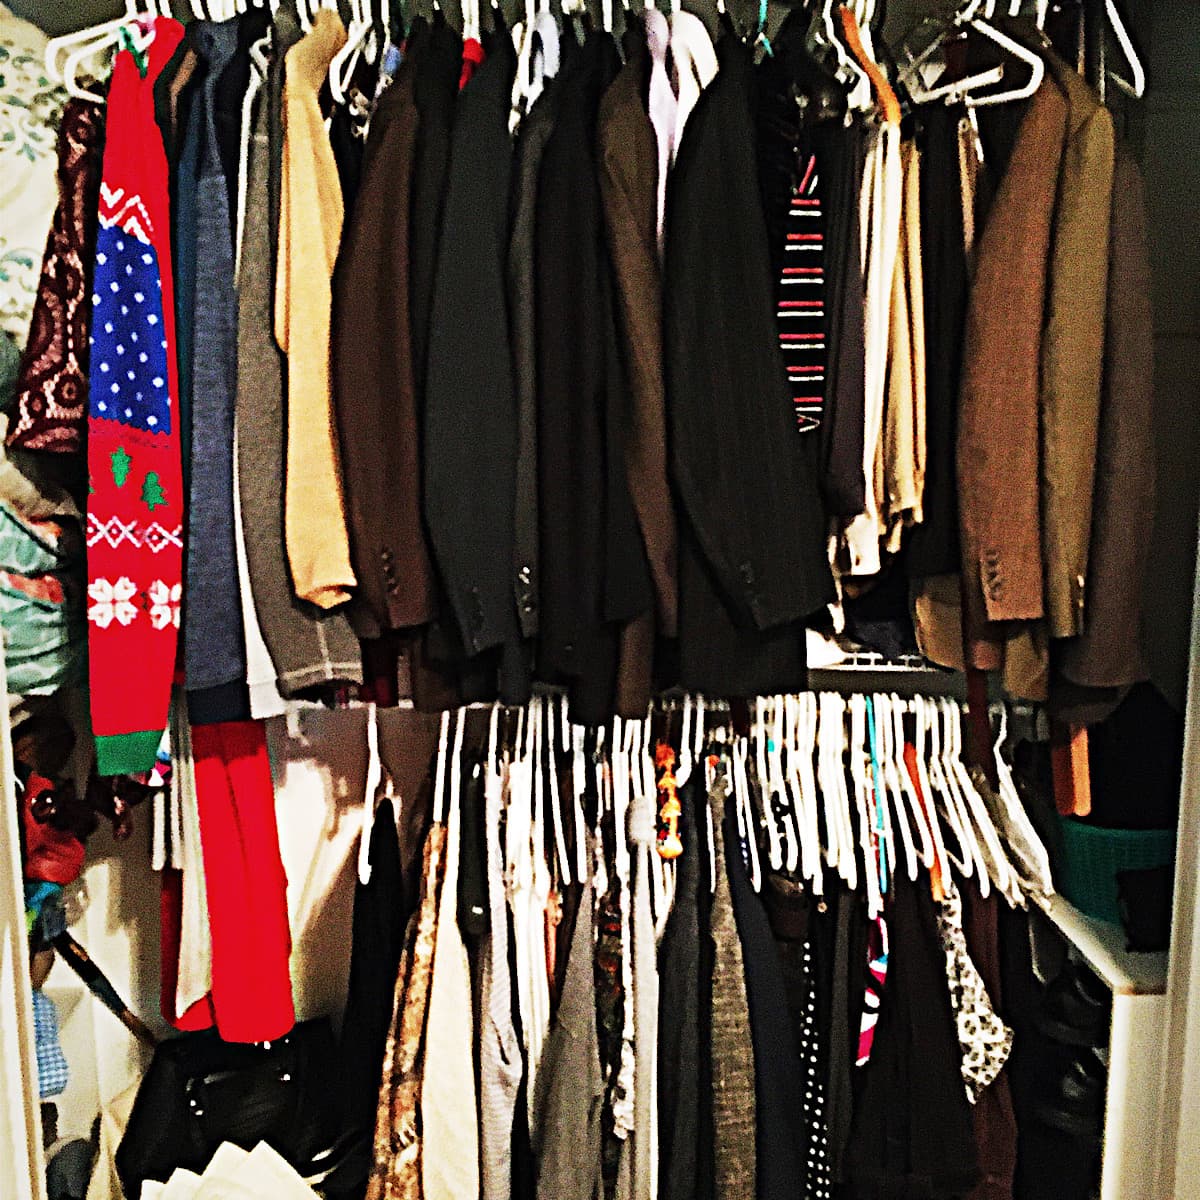
Inside, there was one bar that stretched across the top for all the clothes and a wooden shelf above that. The closet included no other features.
What I didn't realize until we moved in and started loading up our clothes was that our closet was not very deep. It wasn't deep enough to keep my husband's shirts and jackets from rubbing against the sliding doors.
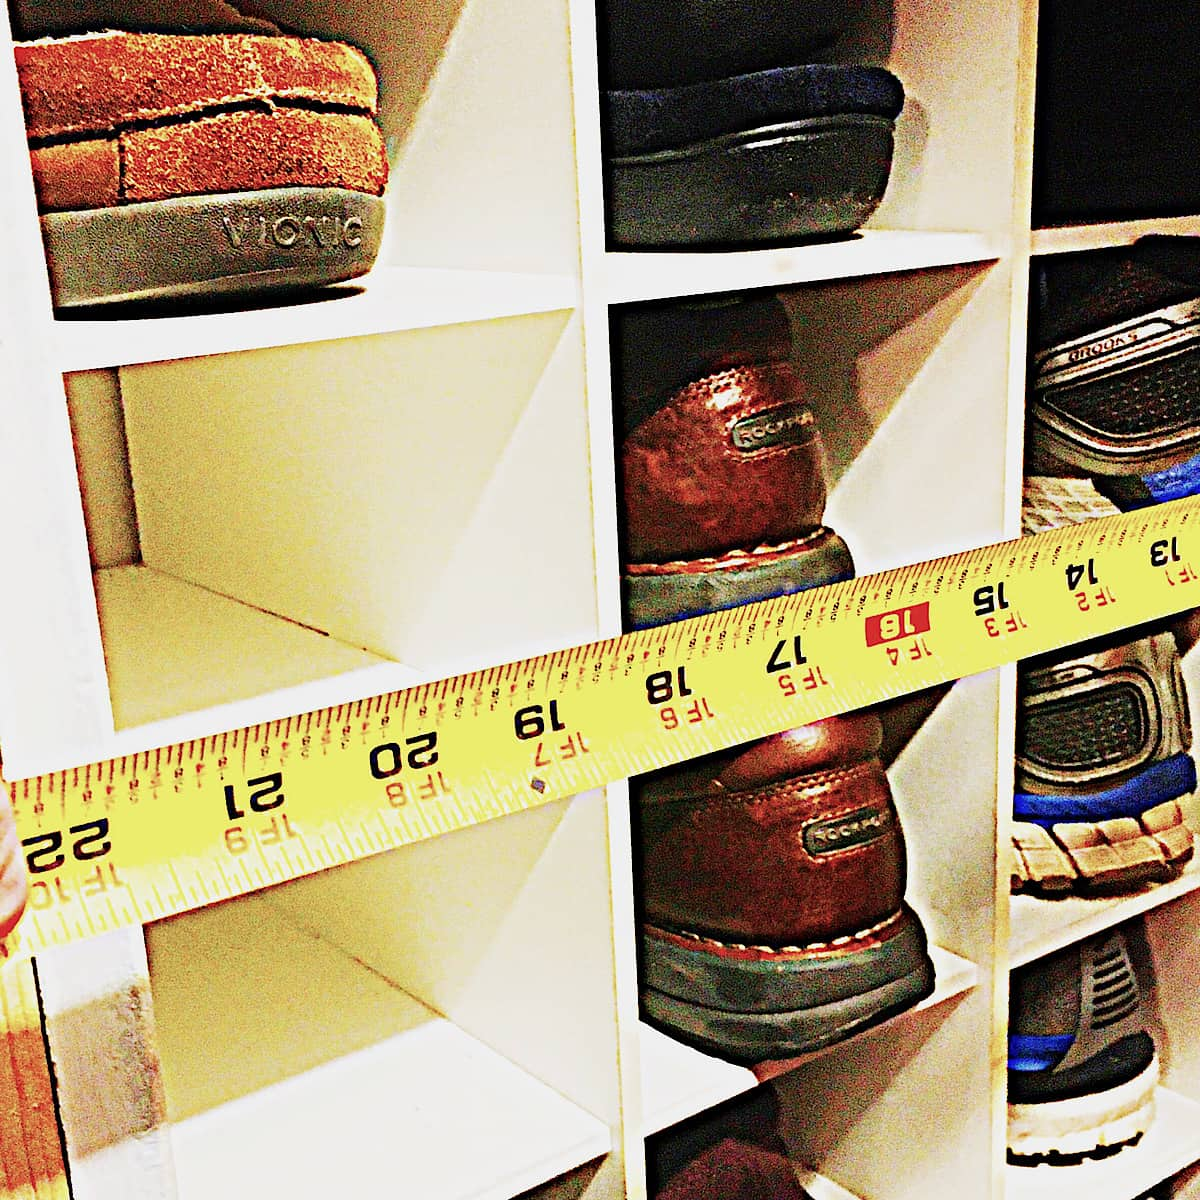
I thought this was odd and once I had the time and a tape measure handy, I measured the depth of the closet. It was only 22 inches deep. That seemed shy from what I thought would be a normal depth of a reach-in closet.
Reach-in Closet Dimensions
I googled normal reach-in closet dimensions.
HGTV and others suggest that reach-in closet dimensions can vary from 3 to 8 feet wide by 24 to 30 inches deep. Most suggest a minimum of a 24-inch depth.
Yes, I was right, our closet wasn't as deep as modern reach-in closets should be.
So what to do? I researched reach-in closet remodel ideas and came up with a plan to install a closet organizer. Off we went to the big box store looking for closet organizers. Surely that would fix the problem.
We bought a closet organizer set that fit the width dimensions of our closet and had it installed.
It added 2 layers of hanging clothes. This provided some improvement, but not much and I immediately realized the quality of the set was not great. But it was installed and well, life moved on.
Another problem was that there was a lot of space on the sides of the closet that just collected things. Extra pillows I wasn't using, bags of things for later, items I just didn't know what to do with.
I am sure you know what I mean.
Forever trying to fix the problem, I bought a shelf organizer that was just the right width to fit in the side of my closet, and that helped, but not a lot.
Reach-In Closet Remodel Plan
This year I started making plans to live a healthy life. Part of that plan was to organize and declutter my closets, drawers, and house. We have lived in this house for 10 years and moved in with three children under 5.
I have been working over the last year to move out the collection of kid stuff that we no longer use or need. This led to my need to organize our master bedroom closet.
Trying to live a more balanced life? Take a look at my post, What Does Fine Living Mean to You? Start the process of finding balance in your life.
New Closet Doors
The first step we took in our reach-in closet refresh was to change the sliding doors. Remember the HGTV designer I talked about before? Well her design was my inspiration. She gave me ideas for reach-in closet remodeling.
I luckily had enough room in our master bedroom to allow for french or swing-out closet doors. Unfortunately, we don't have carpenter expertise, so we worked with a carpenter to take measurements. When you are replacing doors this step is crucial. If you don't have carpentry skills, then finding someone who does is essential to your project.
Once we had the measurements, I special-ordered the doors. This was a fairly simple process at a big box store.
One tip I would suggest is that our wooden doors come unfinished, primed, or painted. All at slightly different costs. If you are going this route, I recommend ordering the finished door with the paint. I ordered the doors primed thinking I would have time to paint them and well, you know how time flies. Order your doors with a painted finish.
The doors took several weeks to arrive. Installation took several days. This is because the closet opening had to be slightly reconfigured to remove the sliding door hardware and accommodate the swinging doors.
In the end, the French doors expanded the depth of the closet space by 3 inches. Now in the center of the closet where the doors close, we have a normal reach-in closet depth and my husband's shirts and jackets fit perfectly.
Most importantly, I love the look of these doors. Massive improvement from the sliders.
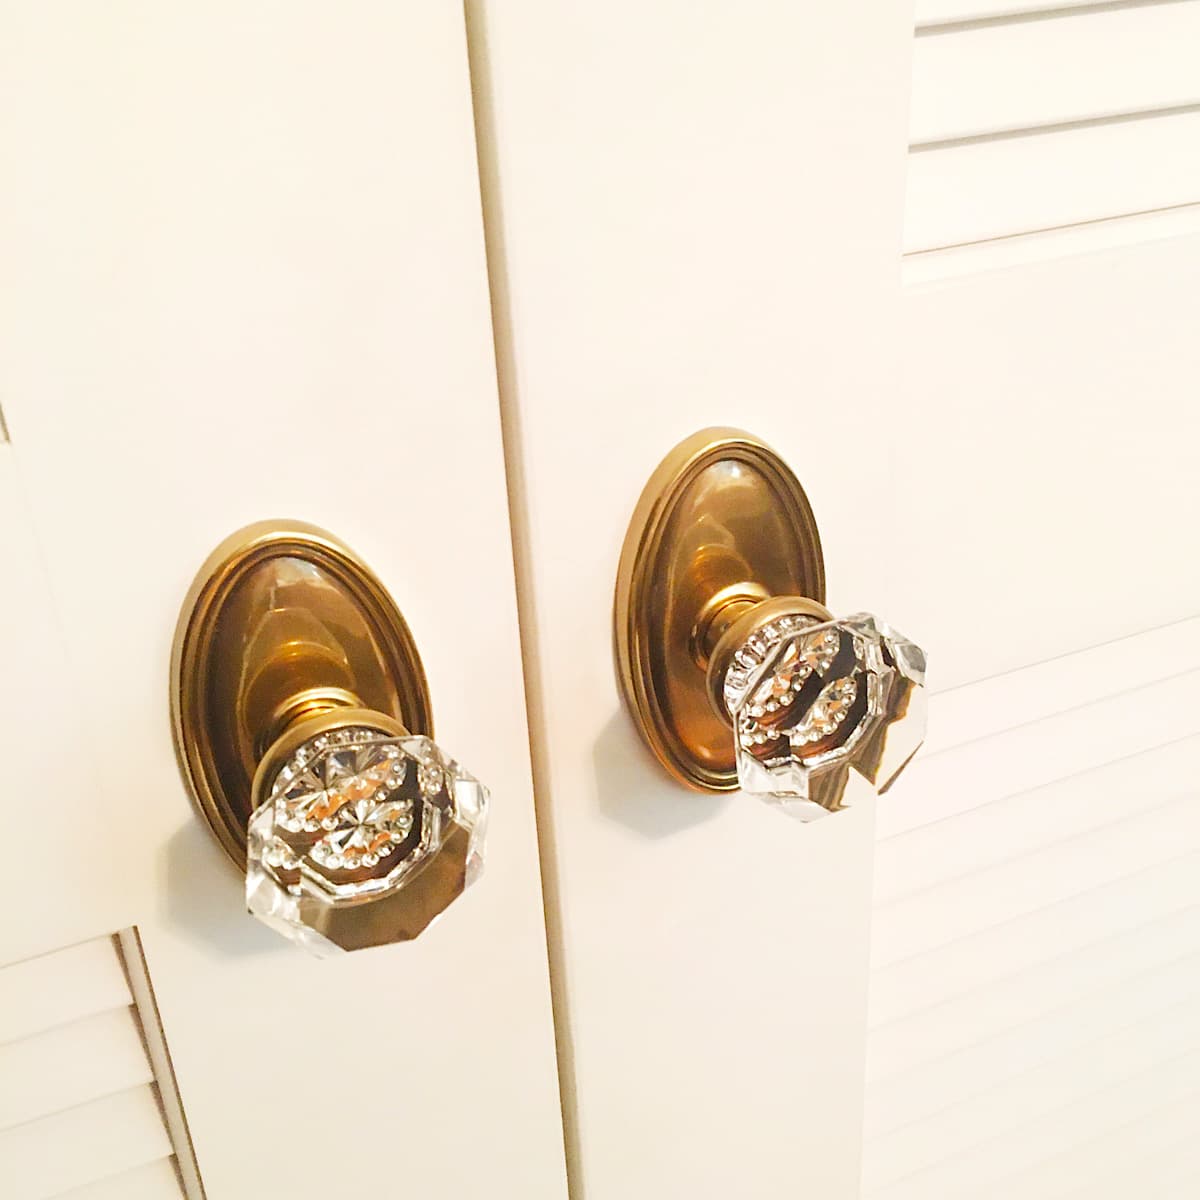
I also added crystal doorknobs. Another splurge.
Reach-In Closet Design Options
Professional Closet Redesign
First, we investigated having a professional closet organizer take a look at the closet and develop a plan for getting the most use out of the space of our closet.
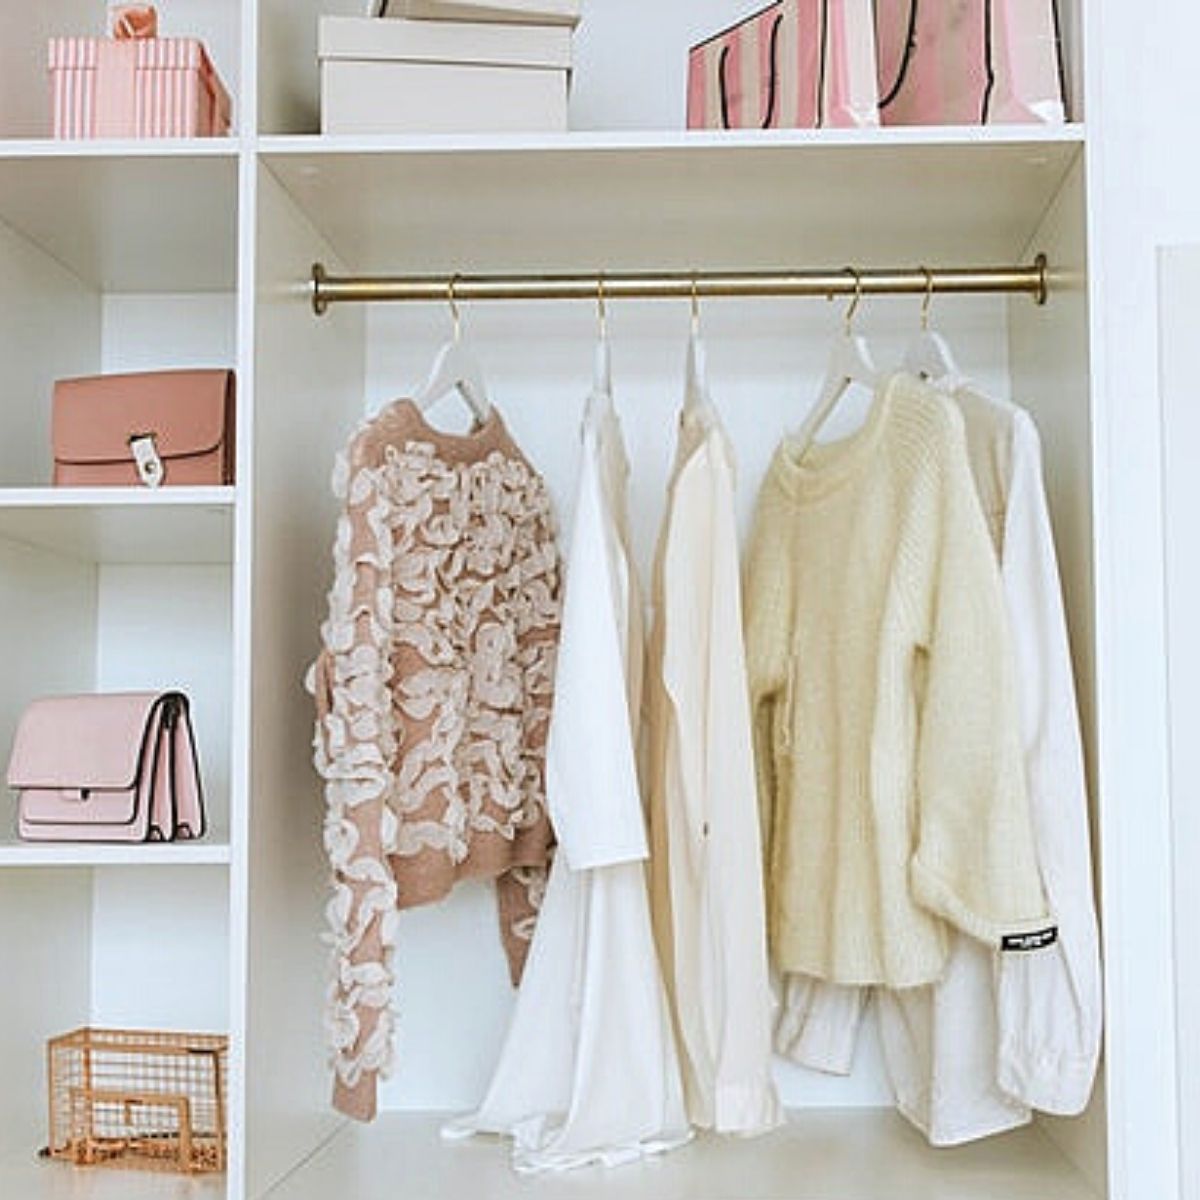
We set an appointment with a designer, who came out and drew out a plan to remake our closet. I was so excited. I had researched closet designs online and had dreams of drawers, shoe organizers, belts lined up in a row, and no clutter.
Until I saw the price.
The estimate, with a holiday special discount, was going to cost approximately $1,500. And the design was very basic. It included two parallel hanging racks for clothes, a 21-inch section of floor-to-ceiling shelving, and a small section for hanging longer items.
This was not my dream design. I could not justify spending that much money to have a basic organizer installed in my closet. My frugal side kicked in and I started researching other options.
Reach-In Closet Organizer Kits
As I scanned closet organizers online I realized that the professional design plan was not much different than most of the pre-configured closet organizer kits.
As I researched options, as much as I wanted to have our closet professionally redesigned, I just didn't feel that we could justify the price. So I kept looking.
I knew that we needed better-hanging space, a space for hanging long items that I didn't currently have, shelving for purses, and most importantly, shoe organization.
There are a lot of preconfigured closet organizers available online and they range in price for the size of our closet from just over $100 to close to $1000.
These kits include wire shelving, laminate shelving, or wood shelving. There were a lot of options to consider. Just like ordering anything online, I started looking at reviews.
Final Reach-In Closet Design
I was mulling over the closet project for so long that I decided to put it on the back burner, but I wasn't able to make a decision.
Push forward a couple of weeks and I came home to a newly organized closet. My hubby took it upon himself to order an organizer and have it installed by a carpenter. What a surprise.
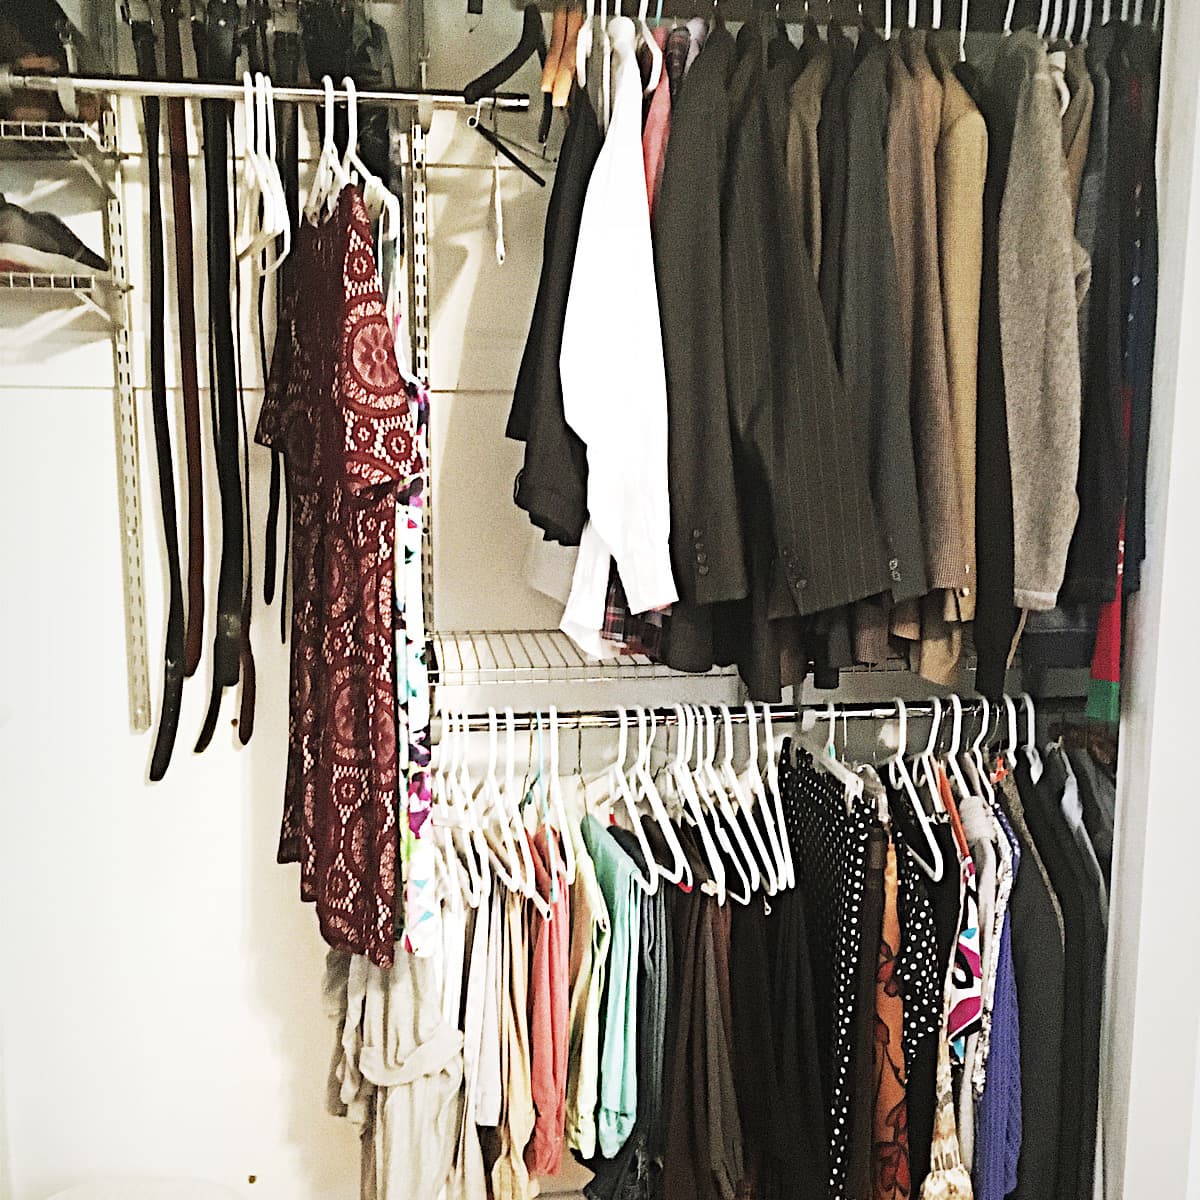
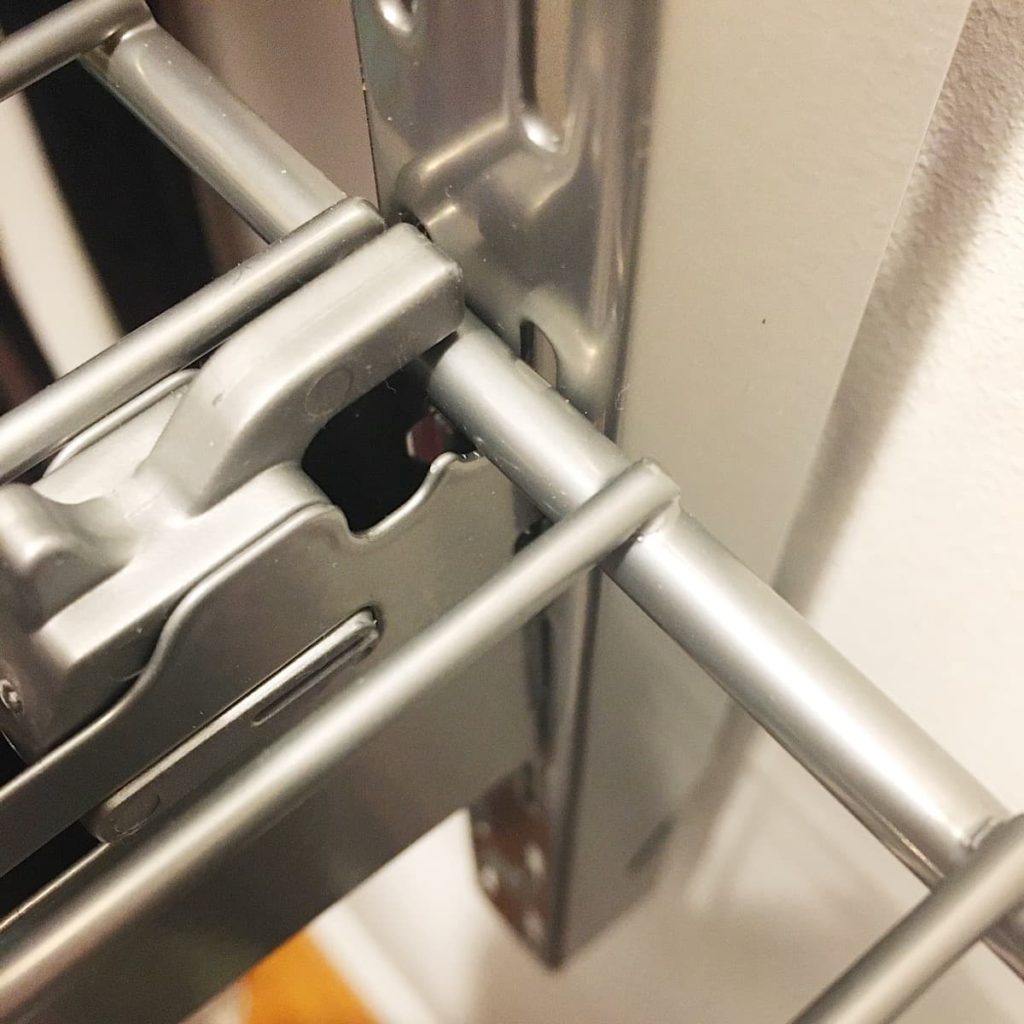
At first, I questioned the quality of the organizer, but as I took a closer look, I could see that it was much better than our previous shelving. The supports are sturdier and lock shelves into place and the rods are heavy. The shelving is more heavy-duty than our previous organizer.
The organizer was installed much higher at the top of the closet taking advantage of vertical space. Ensuring that the two parallel hanging racks were far enough apart to prevent clothes on the top rack from drooping onto the lower rack. The bottom rack was also hung high enough that clothes on the bottom rack were not dragging on the floor.
The parallel racks are installed to the side of the closet, taking advantage of dead closet space.
Next to the parallel racks is a small section for hanging long items. I did not have this area in my previous closet. Behind this section, we installed a belt organizer. It is mounted above the long item rack so that it is visible and accessible.
The last section includes the shelving unit that I had installed when the closet doors were changed. This unit provides three shelves for organization. On top of that, I have a 15-compartment shoe organizer. To encourage neatness, I put hubby's shoes in this organizer.
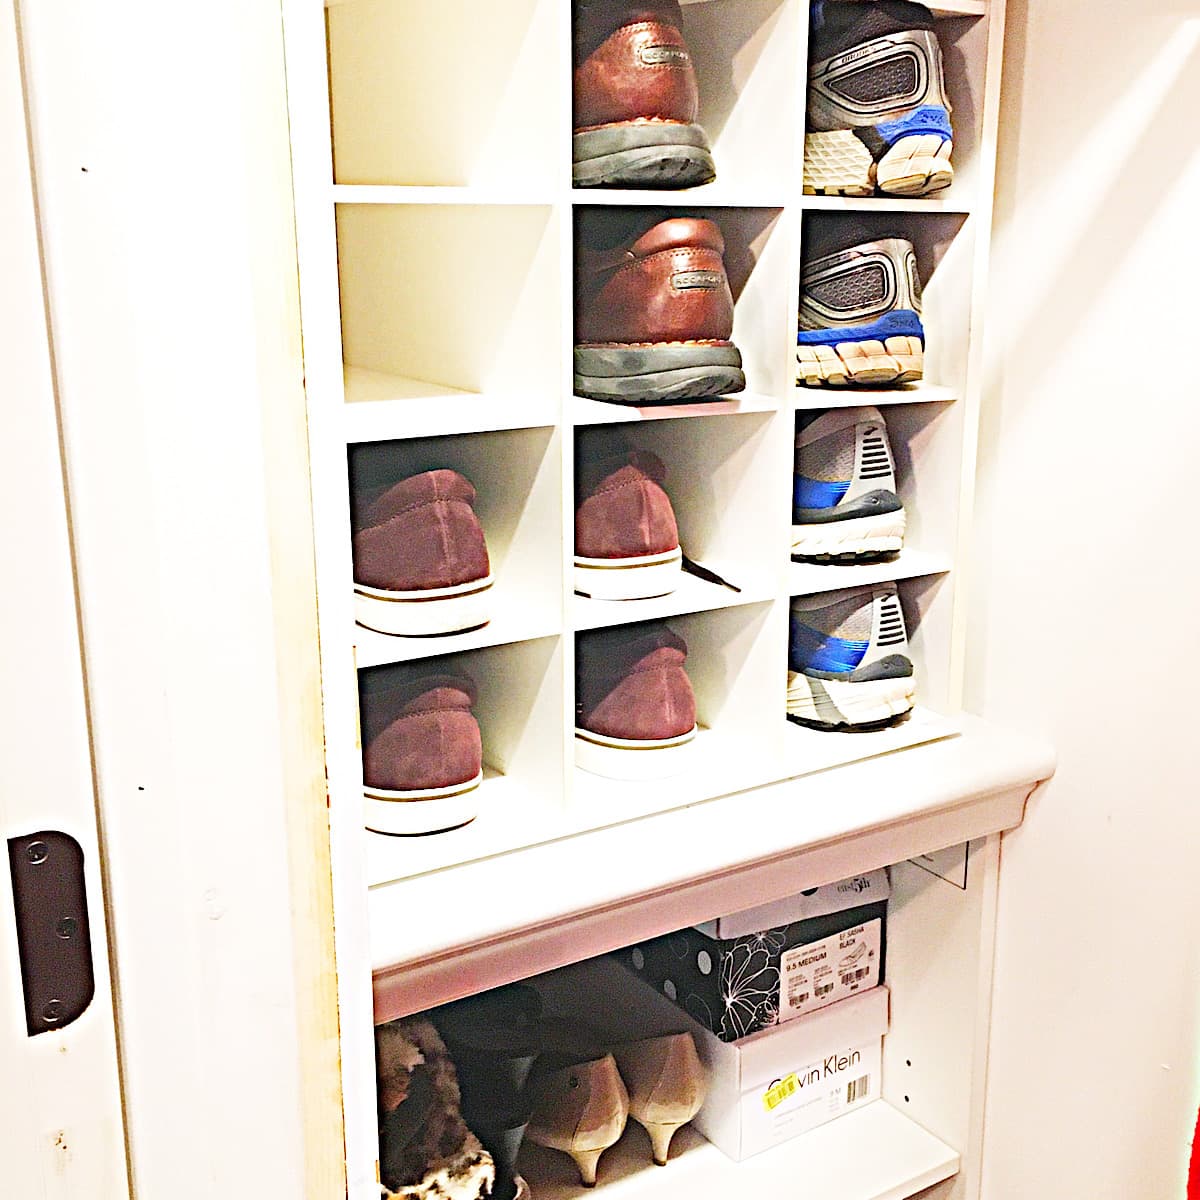
Above are three additional shelves. The top 2 are where I store my purses. I plan to purchase closet boxes to organize my purses and clear shoe boxes to organize my shoes on the shelves below.
Planning Your Closet Remodel
What Are Your Closet Needs
When it's time for your closet makeover you just know it is time. Whether it is due to equipment failure like a rod cashing with too many clothes or you realize you just can't find your clothes. A closet makeover is something you should research and plan.
We redesigned our master closet, but you may be focused on an entry closet, office, or nursery. Whatever type of closet you are planning you should take a minute and decide what function the closet will serve and what you will store in the closet. The sizes and shapes of items.
Also, consider if you want to change closet doors or if you even need closet doors. Is the closet lighting adequate?
A final thought is to consider what you have been storing in your closet. If you are like me, I was storing a lot of things that should be kept elsewhere. For example, extra pillows. I had stacked this pile of pillows on top of the shelving unit in the side closet dead space. Since my closet was redesigned, they will have to find a new home.
Evaluating these things prior to scheduling a meeting with a professional closet designer or purchasing your own closet kit to install will be time well spent.
When we met with the professional designer, they created a bit of urgency in the special pricing they offer. They also tried to upsell features and finishes. And, of course, everything they suggest is something you will love. But, only if you can afford the price tag.
So, having an idea of what you are looking for and what you are willing to pay is a good plan prior to scheduling the appointment.
Closet Dimensions
What is the size of your space? Luckily our closet was 90 inches wide, but, was only 22 inches deep. This created a bit of an issue with clothing getting in the way of sliding closet doors.
If we had more of a budget, I would have brought the closet out 6 inches or so we would have had more of a deeper closet. But, like everyone, the budget often makes us live in reality. So we tried to work with what we had.
Our reach-in closet was only 22 inches deep. A little shy of what was standard. Since our home was built in the 50s this may have been common. Other bedroom closets didn't suffer from this slight so it might have been a simple mismeasurement.
The most important thing is to measure, measure, measure. And plan, plan, plan how you want your closet set up. This will save you time in the end, especially if you install the closet organizer yourself.
Having these dimensions will also help you pick the closet organizer that is appropriate for your space.
What Type of Walls Are You Dealing With
Another tricky thing we dealt with in our home was the walls. When we bought our home we were excited to have an all-brick home. Solid and secure. We knew the interior walls were plaster, but what we didn't know was that the walls behind the plaster were made of cinder blocks, with brick on the outside. Because of this internal wall structure, hanging a picture, a shelf, or a closet organizer takes time, measurement, and commitment. And, a special masonry drill bit.
So know your walls. If you live in a recently built home you are probably dealing with drywall, but some may have metal studs instead of wooden ones. Or if your bedroom happens to border the garage, it might be possible to have a cinder block to deal with. Hopefully not.
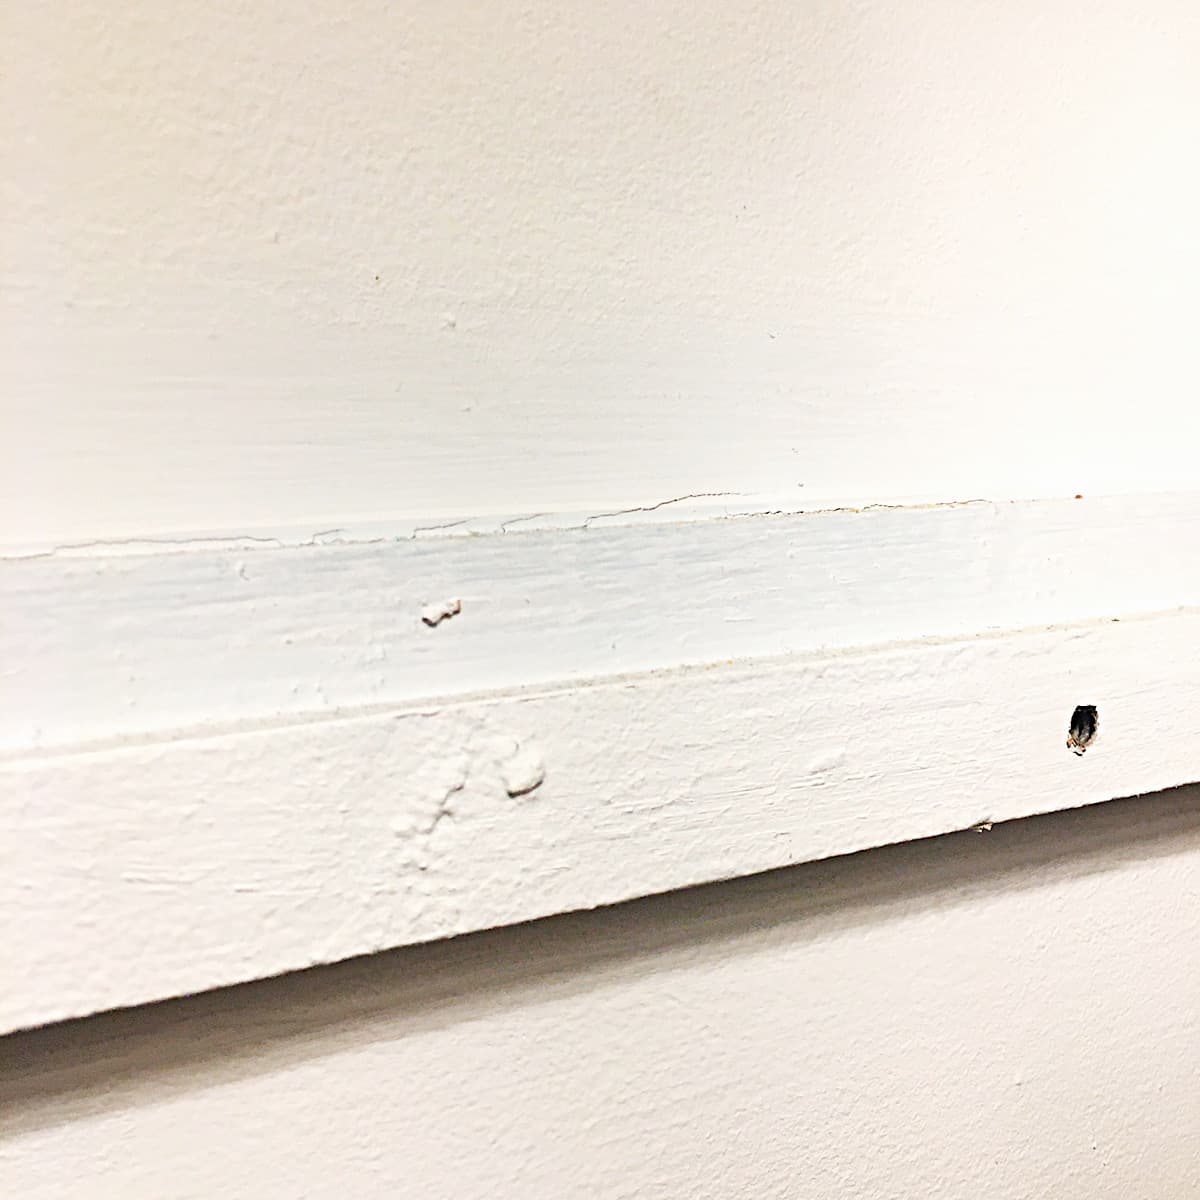
One tip you might consider is using a ledger board (a strip of wood attached to studs) to help secure your closet. We used several of these as drilling into cinder blocks would not create a stable anchor for the weight of the clothes we planned to store in our closet.
Our Reach-In Closet Organizer
You may be wondering which closet organizer my husband picked. He ordered the Rubbermaid Configurations Deluxe Custom Closet Organizer System Kit. #ad

As I described this is not the fanciest organizer. It doesn't include laminated shelves or drawers, but it is a nice weight and is very sturdy once installed.
I like the titanium finish and layout flexibility. Another nice feature is that the shelves lock into place to keep them secure. This organizer met our needs and was a bargain.
Amazon reviews on this product are almost 5 stars. So most people like us are happy with their purchase. You may be looking for more elaborate reach-in closet organizers. This unit met our needs, but there are other organizer kit options available. Take a look at these.
Reach-In Closet Organization Kits
Update - Second Organizer Installed
Recently, we decided to update our guest bedroom closet with the same organizer. The closet space was roughly the same size as the master closet. We installed the Rubbermaid Configurations organizer in one of the suggested layouts and it turned out perfect! We added so much organized storage to this closet. The shelves are solid and easily hold heavy boxes as well as an amazing amount of hanging items.

Make resolutions to get organized in the New Year. Take a look at my post on keeping New Year's Resolutions.
December 2024 Update: Image and post updates.

Leave a Reply